Originally published by the leaders in eSports cycling, Team Saris + The Pro's Closet
In the last few months, the number of riders on Zwift has exploded. Thousands of passionate cyclists have found their way onto the platform using the simplest setup you can use to get rolling on Zwift: a basic trainer plus a speed sensor, or our line of smart-equipped bike trainers. These cyclists are finding joy on the bike at a time when going out and riding with the weekend café ride isn’t possible.
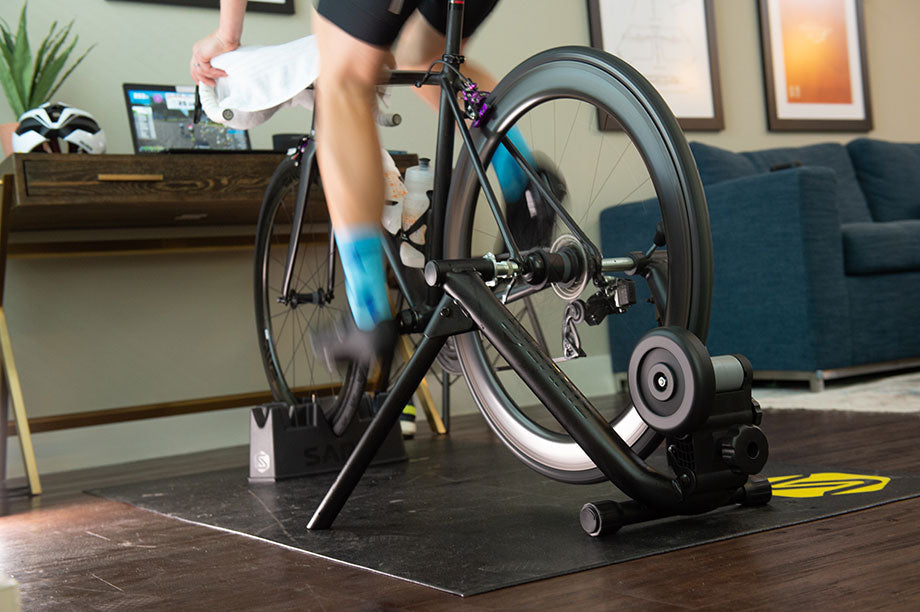
As these new-to-Zwift cyclists jump onboard, it’s important that they are setting up their equipment correctly to ensure the most realistic experience, and to avoid any confusion that will come with a poorly setup trainer.
What is zPower
As these new-to-Zwift cyclists jump onboard, it’s important that they are setting up their equipment correctly to ensure the most realistic experience, and to avoid any confusion that will come with a poorly setup trainer.
- Ensure you choose the exact trainer you are using from Zwift’s trainer options.
- Ensure your tires are properly and consistently inflated
- Ensure your tire is snug against your trainer’s resistance drum (not too tight, but not too loose).
zPower and Racing on Zwift
With many eager cyclists jumping into Zwift races utilizing zPower, it has become clear that many are not setting up their trainers correctly. Often the case for noticeably over-powered zPower racers, these users will get “flagged” by competitors through use of the Zwift Companion’s “flier” flag — a tool Zwift has given the community for flagging riders who are on miscalibrated setups in order to avoid unrealistic interference with races and group rides. Not all zPower racers are flagged out of races; primarily it is the racers who tend to fly off the front of a hard-charging peloton and repeatedly chase down attacks and breakaways.
There’s nothing worse for new-to-Zwift cyclists than to be flagged and pulled out of races, and called-out for miscalibrated or incorrectly setup equipment, but sadly for some that is the case. This is why it is so important to set up your equipment as accurately as possible — to ensure your experience is as true-to-reality as it can be!
Key Takeaway
Accessibility to Zwift is everything — there’s no reason a cyclist should purchase an expensive power meter just to enjoy riding on the platform! Getting rolling by using your stationary (non-smart) trainer with a speed sensor is the simplest and cheapest way to ride. As you set up your bike and trainer, make sure you’re consistently inflating your tires, tightening the trainer’s resistance drum onto the tire, and selecting the correct trainer in Zwift’s setup menu!
After a few rides, assess your abilities — are you consistently putting out 4-5 watts-per-kilogram or more? Check out this chart and see if that seems consistent with your abilities. In no time you’ll be accurately rolling along on the virtual roads to meet up with your friends for that café ride!
