When it comes to off-season training, every athlete has their own preference on what bike they ride, when they hop on the saddle and which type of bike trainer to use indoors. That’s why we manufacture bicycle trainers that range from the basic, entry-level trainers to the smart units trusted by professional triathletes and pro teams like Trek-Segafredo.
Equipment preferences aside, there’s a new common ground: the desire to ride with an indoor cycling application.
Here’s a step-by-step guide for how to get a basic bike trainer set up and riding with Zwift.
What is Zwift?

Sounds pretty sweet, right? This game-influenced cycling application has revolutionized the way athletes train during the off-season.
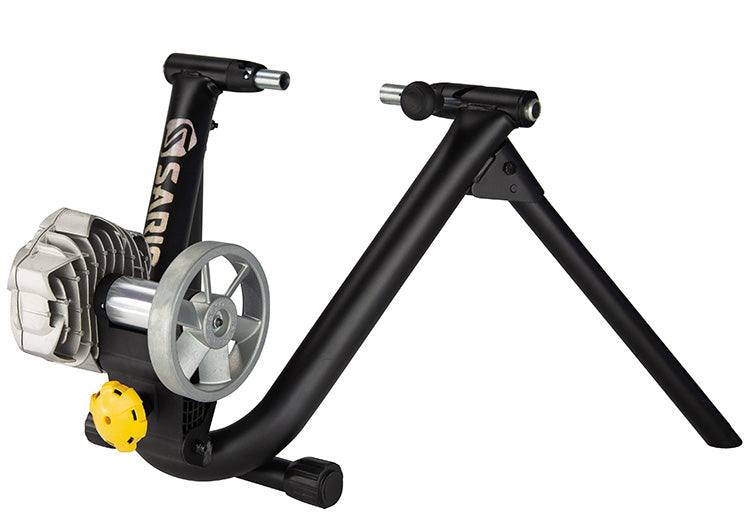
Plus, Zwift is open to all levels of riders who train with a variety of equipment - including our basic indoor bike trainers, like the Fluid2, Mag, and Mag+.
What is a Basic Bike Trainer?
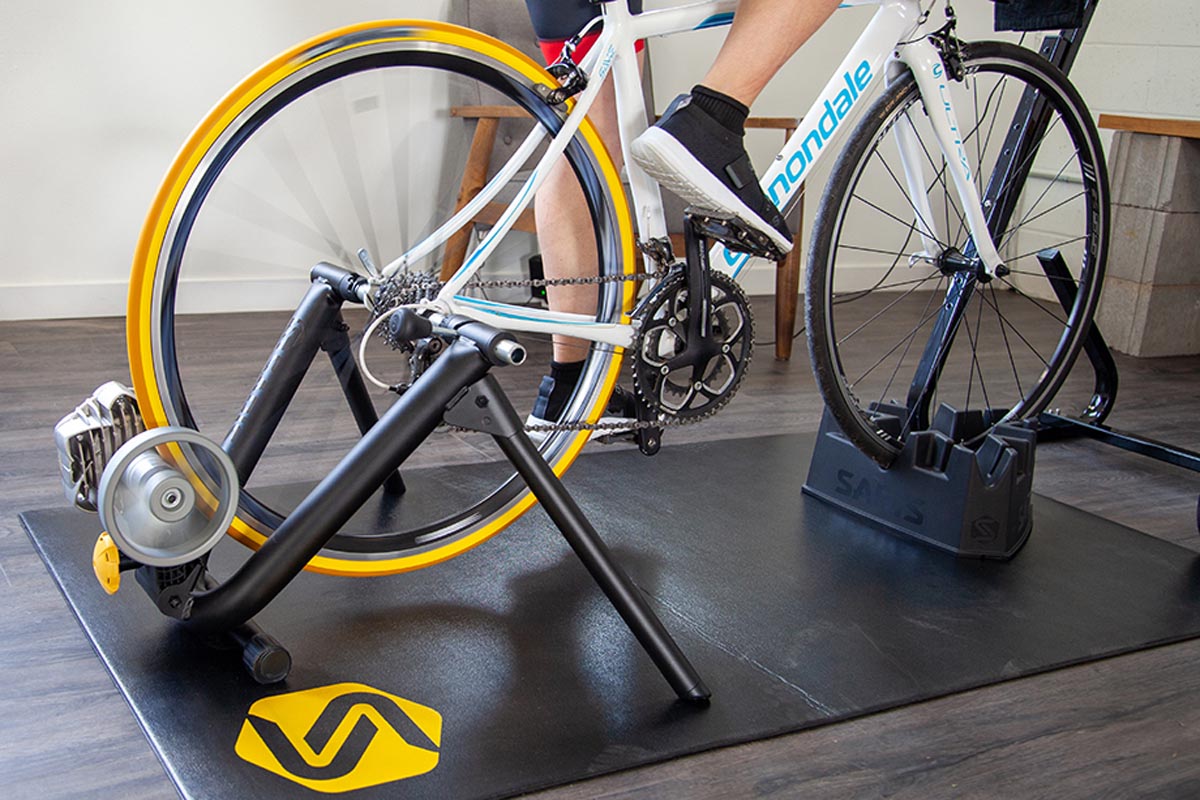
A basic bike trainer is an indoor training accessory that turns your outdoor bike into an indoor stationary bike. The "basic" name is derived from the lack of built-in connectivity to indoor cycling apps. While these basic trainers are less tech-savvy than their smart counterparts, they can still be used with indoor cycling applications like Zwift and ROUVY.
If I Use a Basic Trainer in Zwift, What Can I Expect?
From basic to smart, Zwift is set up to support a wide range of bike trainers. The main differences between using a smart trainer and a basic trainer with Zwift are:
-
In-Game Resistance
Since basic trainers do not have built-in sensors nor controlled resistance units, your resistance will not exactly mirror the terrain in Zwift. Instead, you will notice a drop in your in-game speed when climbing, forcing you to work harder to get up the hills.
-
Power Readings
Based on your speed, Zwift will use its formula to assign you an estimated power output versus pulling power data from a smart trainer.
Your Gear Checklist
Here’s what you’ll need to get your bike, device and training space set up. The step-by-step process below is for connecting via ANT+. A general guide for connecting by Bluetooth can be found in our indoor cycling app setup guide.
For Your Bike Set Up
- Your bike.
- The basic bike trainer of your choice.
-
Riser block. (Optional but recommended.)
For Your Tech Set Up
- PC or Mac Desktop Computer with Zwift installed. Download Zwift.
- ANT+ Speed Sensor.
- ANT+ Mini USB stick.
- We strongly recommend using a USB extension cable to place the ANT+ stick close to your devices and prevent signal drops.
For Your Training Space
- Lots and lots of fans! When riding inside you don’t have airflow to keep you cool, so we recommend strategically placing a couple of fans around you to prevent overheating.
- A towel for both you and your bike, or if you want to get fancy, a bike sweat guard. Sweat is corrosive, after all.
- Somewhere to place your Zwift device so you can watch the action; such as a desk, tablet stand, etc.
How to Set Up Your Basic Bicycle Trainer with Zwift


Step 4
RECOMMENDED: USE A USB EXTENSION.
This extension helps bring the connection closer to the sensor and helps prevent signal drops within Zwift and reduces interference with signals with other devices in your home.
Step 5
INSTALL YOUR SPEED SENSOR.
We used the Magnetless Speed or Cadence Sensor.
To set up this device as a speed sensor, check the manual here.
Step 6
INFLATE YOUR TIRE.
Inflate tire to the PSI (pounds per square inch) listed on the tire wall.
Step 7
OPTIONAL: USE A RISER BLOCK.
Set the bike’s front tire on a riser block.
Step 8
DOWNLOAD ZWIFT.
Visit the Zwift download page, where you can download Zwift for your iOS, Mac, Windows or Android device.
Step 9
PAIR YOUR DEVICE TO ZWIFT.
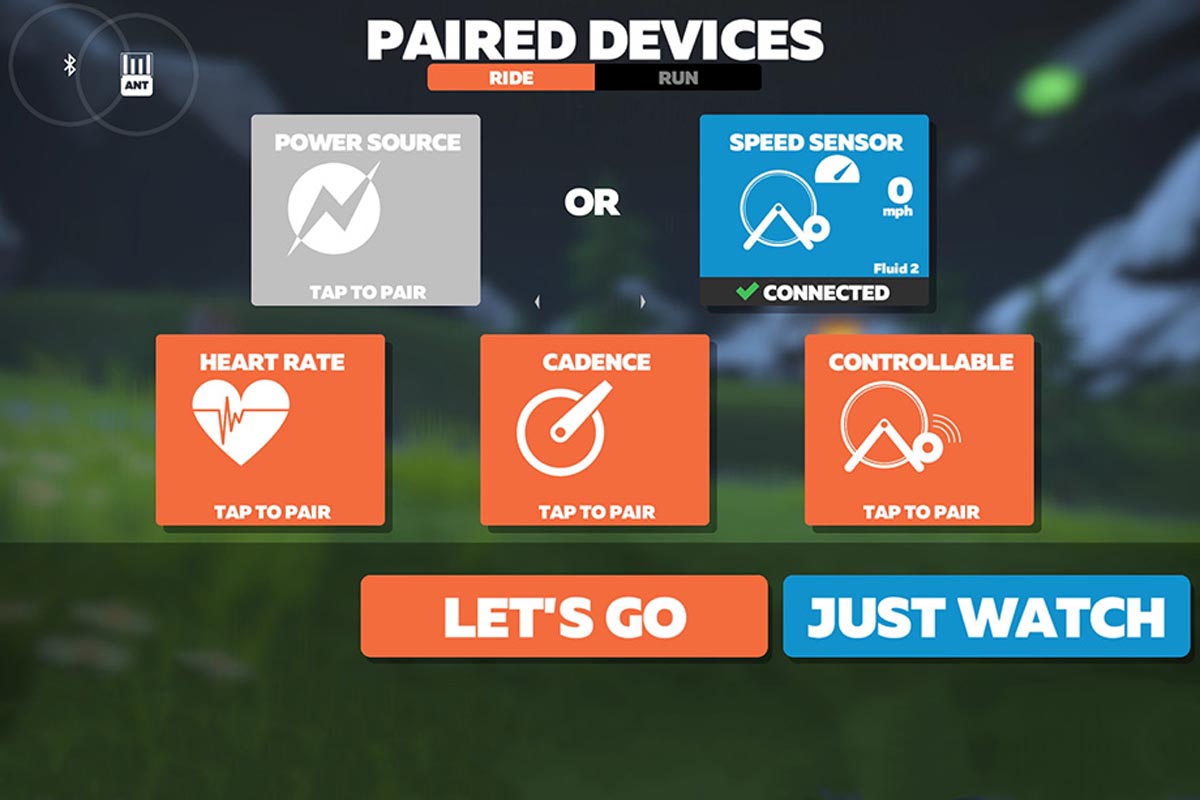
On the Paired Devices screen, verify that ANT (or Bluetooth) is active as indicated by the pulsing circles in the upper left-hand corner. Then, select the "Speed Sensor - Tap to Pair".
Step 10
SELECT YOUR TIRE SIDE AND SPEED SENSOR.
Find your tire diameter and width from the dropdown menu. Most road bikes come with the standard 700x25, with some exceptions. Look for the tire size marking on the tire wall, or check with your local bike shop if you are unsure.
Zwift will search for your sensor, and once found will appear as "Saris spd XXXXX". Each speed sensor has a unique number, and yours will be different than the one shown above.
Select the Sensor and hit "OK".
Step 11
SELECT YOUR BASIC TRAINER
Find your Basic Trainer in the list.
Note: All Saris trainers will be listed under CycleOps.
Step 12
CHECK THE CONNECTION.
If connected, the "Speed Sensor" box will now show "Connected", as well as the name of the basic trainer you're riding.
Note: if you pedal while on this screen, speed data will appear, confirming your connection.
Step 13
RIDE ON!
You're all set. Go ride!
Bonus!
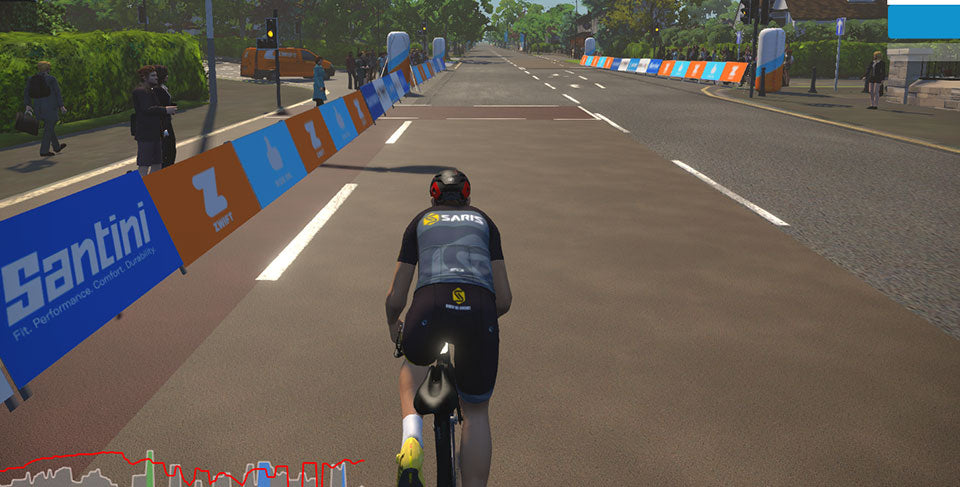
Join in the hundreds of Zwift riders repping the Saris jersey and unlock a custom Zwift kit for your avatar. Simply, hit “P” in-game and enter the unlock code: KNOWNOBOUNDS. 
Other Applications
If Zwift isn’t your thing, there are other indoor cycling applications out there to fit any type of rider. Take ROUVY, a virtual training platform with real videos of real routes from across the globe.
Get Set Up with ROUVY >


